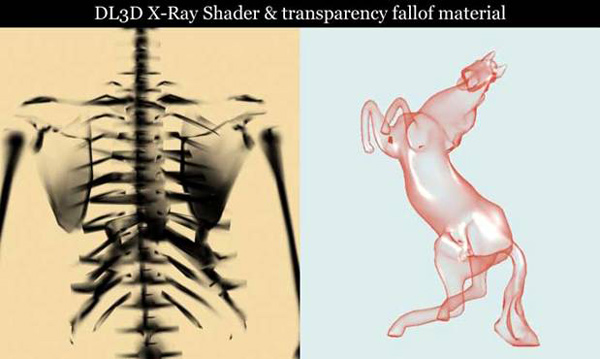
 There are several ways to get the “x-ray” kind of look for your renders. There are several methods to get the “toon” like renders.
I find these two methods handy and simple I have often seen them (especially the dl3d x-ray shader) being used in 3d medical or anatomical renders.
Lets begin with what can be done with mental ray
Thanks to David Lanier, these shaders are available royalty-free, non-exclusive license to possess and to use the them for non-commercial uses.
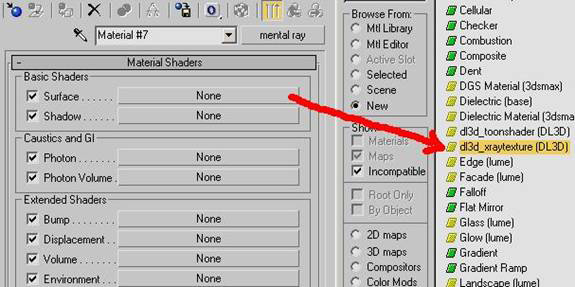
Lets first download the shaders from. This shader is also available for XSI and Maya.
Follow instruction in the zip file to load the dll and .mi files in your max folder.
This works for max 7 and 8
Set mental ray as your renderer
Press M for the material editor and click on standard, chose mentayray material

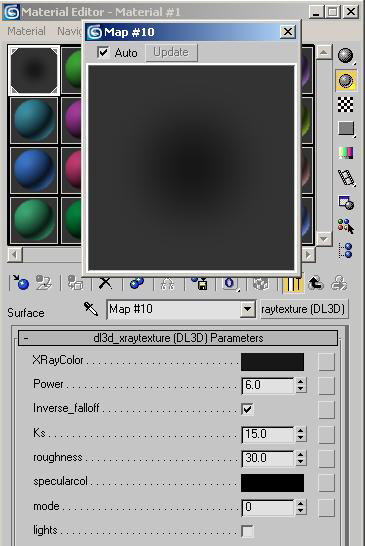
Lets see what the parameters are. This would be purely experimental, and you would have to find out what parameters would suit your prop or scene
The parameters:
XRay color : diffuse color of the transparent object
Power : The higher is the power, the less transprent is the object (except with invers falloff parameters checked)
Inverse_falloff : inverse the fall off parameter, the transparency starts from the center instead of the edges (and the contrary)
Ks : coefficient for specular color
roughness : coefficient to set the roughness of the surface for specular reflections (the highest is the roughness the more centered is the specular reflexion)
specularcol : specular color.
Here, I have “Mr Skeleton”. So need a rather typical xray look. So after trying out various settings, this is what gave me my xray shader.

Lets assign this shader to the prop
Render it. This is what I got
Now lets try making a similar material in max.
Select the blend shader, instead of standard.
 In slot one, select standard blinn shader.
Change the following parameters.
Ambient: 0, 0, 32
Diffuse: 0, 0, 0
Specular: 225, 225, 225. Other parameters as follows.
For the second slot of blend material,
Here are the settings.
Ambient: 0, 0, 32
Diffuse: 255 255 255
Specular: 255 255 255. Other parameters as follows
on the mask slot of blend mat, choose fall off.
Here are the fall off settings.
Assign this material to the objects in the scene
and render to see the result.
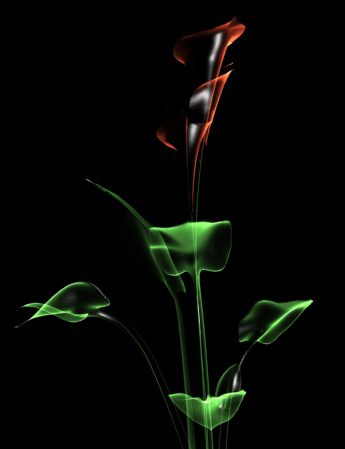
A little change in the diffuse color and here are the results.

